

We are always looking for ways to make our homes look pleasing to the eye, and are always striving to keep them smelling fresh. Many of you can possibly relate!
What if I told you, that in the comfort of your own home, you could create pieces of the outdoors? In your own home, it is possible to grow healthy, natural herbs that will improve both your health and living space. Indoor herbs will not only enhance your decor and create a beautiful design effect, but also make your house smell incredible, look good and feel welcoming.
Do you want to grow something that smells not only satisfying but also releases fresh flavours out of your culinary creations?
Who knew that we could grow something that not only enhances your cuisine but also uplifts your emotional wellbeing.
If this has piqued your interest, read below to find out how you can quickly start growing your own herbs through the cold winter months, or raise them indoors if your living condition does not allow to cultivate herbs in the ground.
While having an access to herbs for long I feel like they will serve as absolute catalysts. They function immediately, getting creative juices flowing, as they are so instantly appealing & appetite-pleasing. On a more exciting note, herbs can be an attraction that draws you into gardening and what is more exciting - to get you growing your own food.
You will grow ingredients that turn you into an incredible cook. Having herbs in the comfort of your home has many advantages. Seeing them grow, leading to harvest time, and every time you pull the leaves off the stem, you increase your appetite, taking smaller steps towards making your next meal more natural, flavorful, spiced, and delicious.
It sounds like an excellent idea to grow herbs all year round!
They are very easy to grow and simple to use, so they are irresistible toward self-sufficiency, the subject we are passionate about at GardenHowTo. Herbs requiring so little of us continue to give us the incredible flavour, colour, texture, and that ability to complete a dish. While you might buy pre-made herbs to enjoy them in your food, there is a small secret that may have been left out.
Most herbs look and taste their absolute best when freshly cut, and their very presence on your windowsill or by the back door will encourage you to use them. You can grow herbs with no garden at all: no raised bed, greenhouse or polytunnel. And if you are in the cold weather season, I’d love to encourage you to grow your own herbs indoors.
I was familiar with herbs since my childhood but on a much smaller scale. Usual herbs that were grown in our garden were Italian Parsley, Dill, Lovage, Mint, Sorrel, plus Garlic if you allow me to attribute this tremendous plant to the clan of herbs.
As soups were the mandatory daily meals back home, we used to chop Parsley and Dill and add them to the soups. When we took servings of the second meal, I remember putting a bunch of them as side dishes.
The Parsley attracted my taste to a more significant extent so that I have ingrained a habit of pulling out a bunch of leaves whenever I passed by the garden bed where Parsley used to grow. For probably apparent reasons I always wanted to add more greeneries to my meals, so that made sense I think. 😉
Now, when I miss Parsley as my evergreen favourite herb, I try to cultivate this plant indoors over the winter.
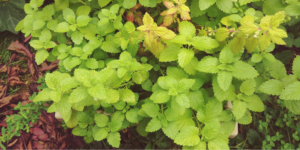
If you let me start on Lovage, I can recall when we as kids, together with cousins played by rubbing the leaves between the palms and smelled them for long after. Even more than that, if you allow me to dive into more intimate memory, I dig out some pleasant moments when my mom used to soak the Lovage leaves in hot water so that we could rinse hair after washing. I can honestly tell you that none of the modern hair conditioners compares to Lovage when it comes to the feeling of soft and silky hair.
We dried Mint leaves in bunches to make relaxing herbal teas all the time.
We have enjoyed Nasturtium as a flower, and I was not aware of how awesome the leaves are in their spiciness, and I had no idea that their blossoms are edible as well!
As all of these herbs did not require early maintenance, they were grown as perennials or have sown themselves, we did not consider any need to bring them indoors.
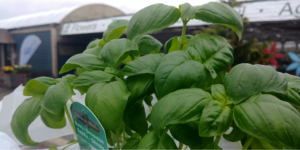
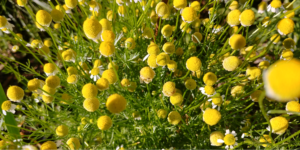
Later on, when I lived in Europe, I discovered herbs in expanding abundance: the taste of Basil to enhance a pasta dish, the scent of Lemon Balm to aromatize the bath, and soothing qualities of Chamomile tea compresses for example.
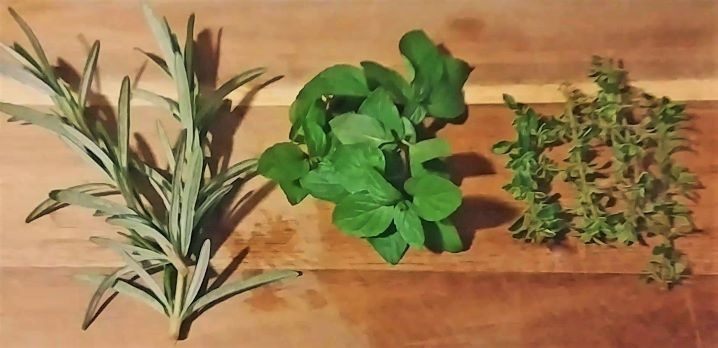
 Only when I stepped on Canadian lands, and gradually propagated my knowledge to new to me herbs as Lavender, Sage, Tarragon, Rosemary and Thai Basil, I was a bit disappointed that local climate is not very suitable for some of them. Especially for those plants that are not native to Canada.

That’s why I started to bring them indoors, to save herbs from dying, with the primary issue of them being exposed to frost.
When the good snow covers the herbs once and keeps accumulated without being thawed your plants benefit from the insulation that snow provides. I mentioned that earlier on Instagram =>
This way when the plants are not exposed to the frost your herbs will have more chances to survive cold winter outside.
So here is a tip for you: if you live in the place where the snow stays throughout the winter and keeps collected, use the snow as a protector to your herbs. The snow will keep the soil warm underneath and will not allow the frost to reach the ground.
But I’m probably dreaming of such weather, as this scenario does not play in this part of Canada. I am referring to central Ontario where I live right now, therefore when freezing times come I bring tender herbs indoors.
The main advantage of planting herbs indoors is that you can harvest them quickly, right in your kitchen, right where you want to enhance your delicious meals without running out and deal with the weather, whether it be snow, rain, or even shine!
If you ever tried to grow herbs indoors and observed that your plants have died in front of your eyes I hear you. 🙂 You might be able to relate to a previous experience that I have had, where you feel a brief moment of discouragement and disappointment because your final harvest did not turn out as expected… I’ve been through these moments when the herbs plants have died from the diseases, pests and overwatering. I’ve seen that on Basil, Rosemary, Oregano, Marjoram… But this experience did not discourage me. Quite opposite - I learn from each of this case and would like you to learn from my mistakes.
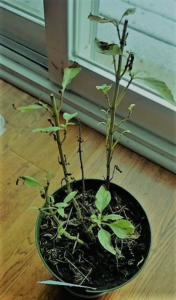
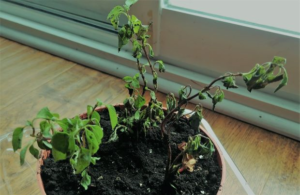
So don’t panic, thinking that you did something wrong. You must understand that grown indoors herbs remain smaller than those grown outdoors, or than those in the wilderness. I suggest limiting expectations on size, and on “appropriate” harvesting. Keep yourself always on a positive note that the abundance of herbs you grow indoors will be able to satisfy your gourmet cooking needs all winter long.
Here are 7 proven steps to start your indoor herbal garden!
Step 1. Select the herbs you’d like to grow first - If you have never grown herbs before, your choice should fall to those that are easier to thrive inside. Of course, there are some of them, both well-known and unusual varieties, that are not suitable to growing in pots indoors because they prefer a constant warm temperature or plenty of root space to develop stable growth. But you will find an excellent range of widely enjoyed herbs which can be eagerly propagated and grow under your gentle indoor care. I have prepared a simple guide for you to choose the herb to grow indoors. All you have to do is to enter your name and email below, and I will send this guide over to your direction:
Check your email with the link to download ...
Step 2. Buy the herbal plant in store if you are new to growing herbs. If you have a friend or neighbour who grows herbs indoors, never hesitate to ask them for advice! And stay tuned, because, on GardenHowTo, we will learn together how you can grow herbs from cuttings.
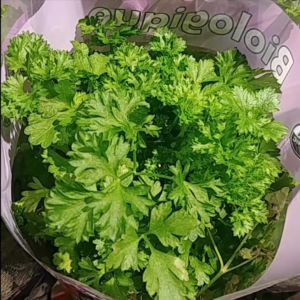
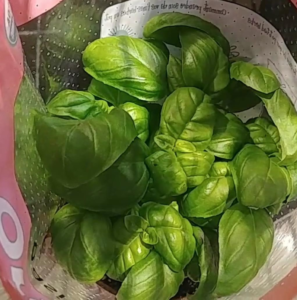
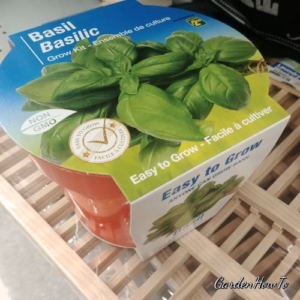
Step 3. If you are new to growing herbs purchase the herbal plant in your local grocery store as I did.
If you know that a friend of yours or one of the neighbours grows herbs, ask them to take a cutting from the mother plant!
For the herbs grower, stem cuttings are a very practical and easy method of increasing herbs. You will establish an intimate connection with herbs, you will feel them close by and you will become an experienced herb grower when you play with stem cuttings.
And stay tuned, because, on GardenHowTo, I’m building a course so that you will learn how to grow herbs from cuttings.
Step 4. Take a soil mix with good drainage. You will be safe with starting on a black soil as a base. Sand, vermiculite, and peat moss are sound components to enhance the drainage. A handy thing that I usually like to do is add crushed eggshells to increase the porousness of the soil mix, and improve the soil with calcium. Another small tip to keep in mind as you plant the herbs in your containers is to look for organic matter that includes compost, glacial dust, or earthworm castings to ensure your plants have enough nutrients to be fed while growing indoors.
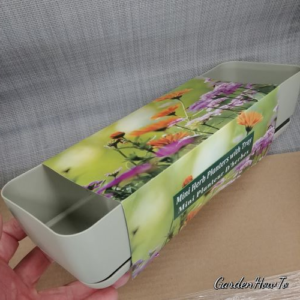
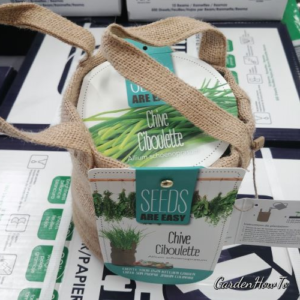
Step 5. Never hesitate using a container with a larger size, so that the roots don’t sit too tight. Choose from a variety of pre-made planters, or mix & match pots of your own. If you choose to snip fresh herbs, pick a bigger container and space herbs at least 6 inches apart, as you would in the garden. If you are a beginner please note that the roots on most of the herbs don’t like to stay in soggy soil, so make sure to find a pot with a drainage hole in the bottom. Just out of curiosity I browsed through the local stores and look what selection I was able to find:
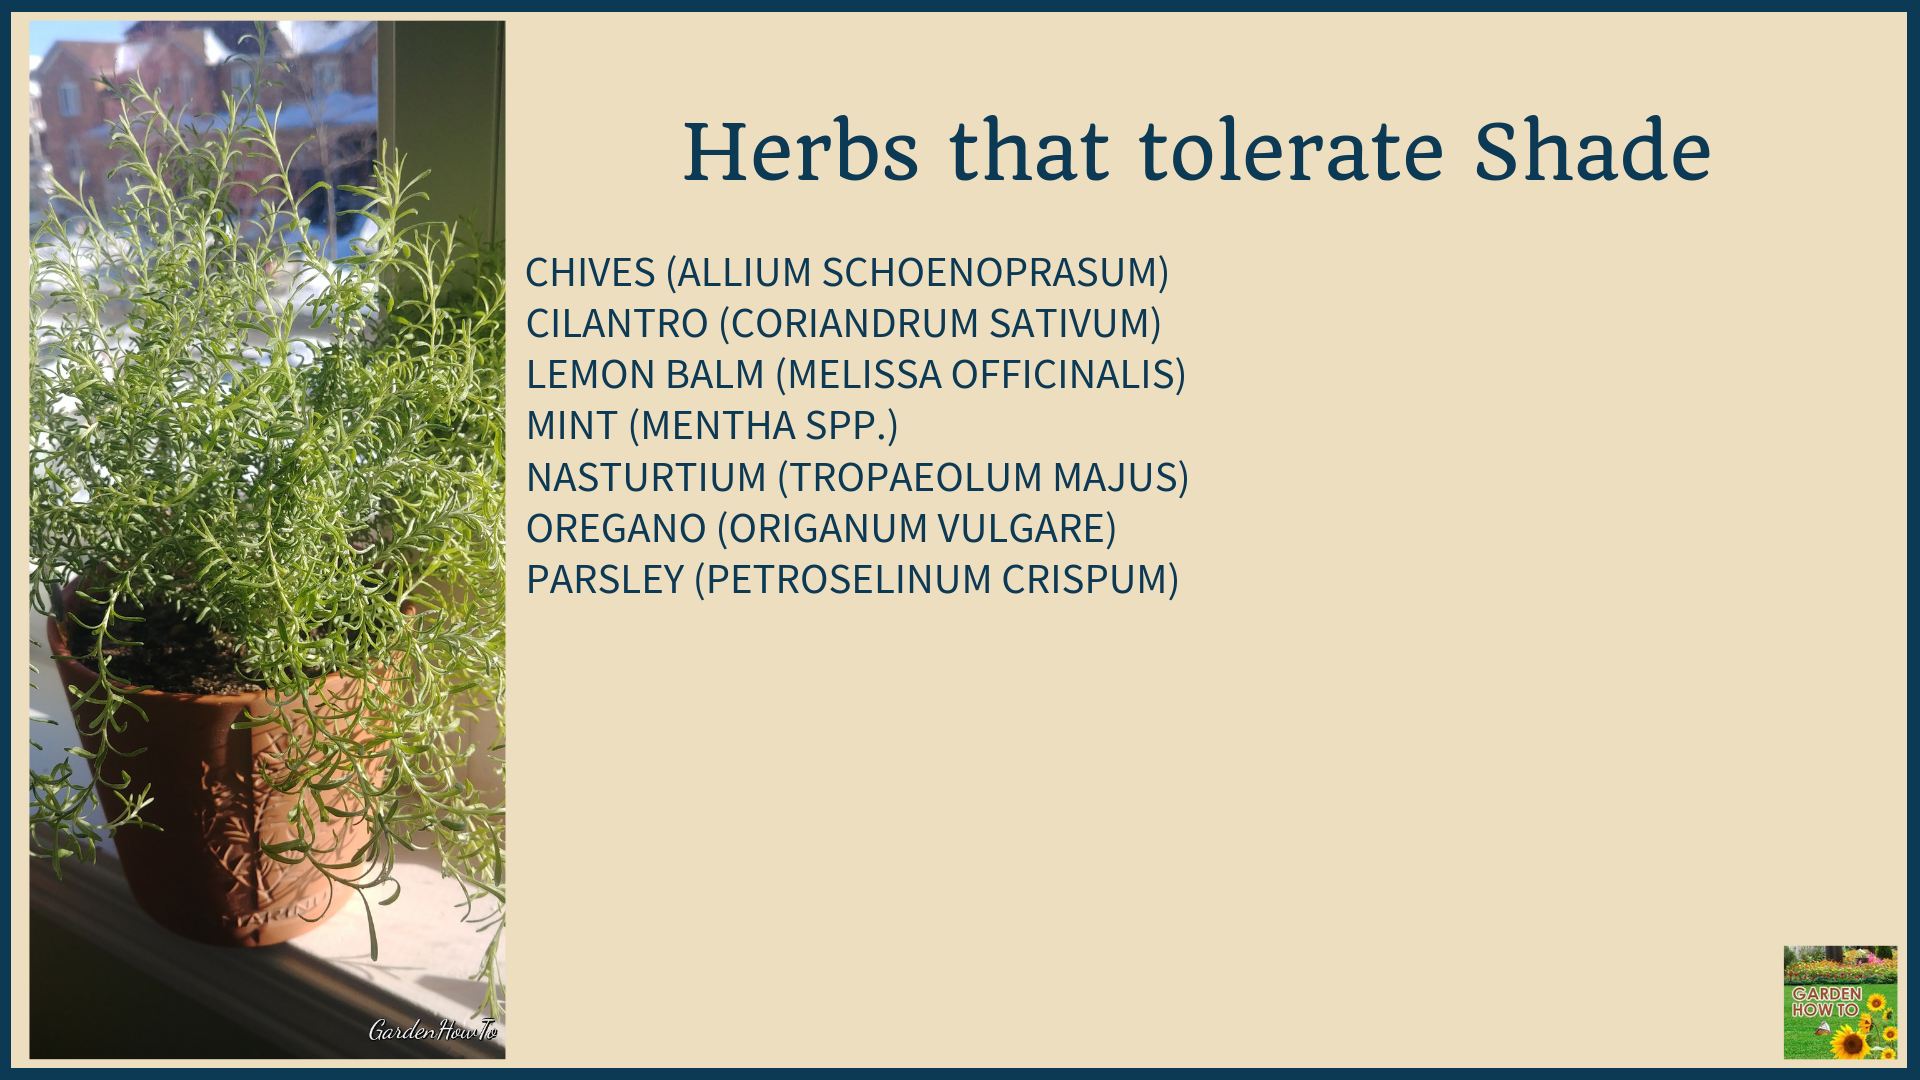
Step 6. Locate a sunny spot in your house. South and west-facing windows would be the best bet. When you have to deal with darker conditions, consider adding the grow light, especially for the sun-loving varieties. I have to say that with rare exclusions herbs require high light levels so even the sunniest window will not offer enough for long life indoors. You won’t be mistaken to play with the herbs that tolerate shade:
If all of your windows facing North as a workaround you can grab the seeds and grow herbs as microgreens - Basil and Chives come up to mind first as good candidates.
Step 7. Place the plant you bought in the container, fill up with the soil mix, and add sufficient water.
And the fun part- enjoy watching the sources of delicious flavours growing in front of your eyes!
P.S. Don’t forget to spread lots of love to your indoor herbs, you will see them smiling back 😉
Again, here is your Simplest Guide on How To Select the Herbs to Grow Indoors, click below for a FREE copy!
Check your email with the link to download ...