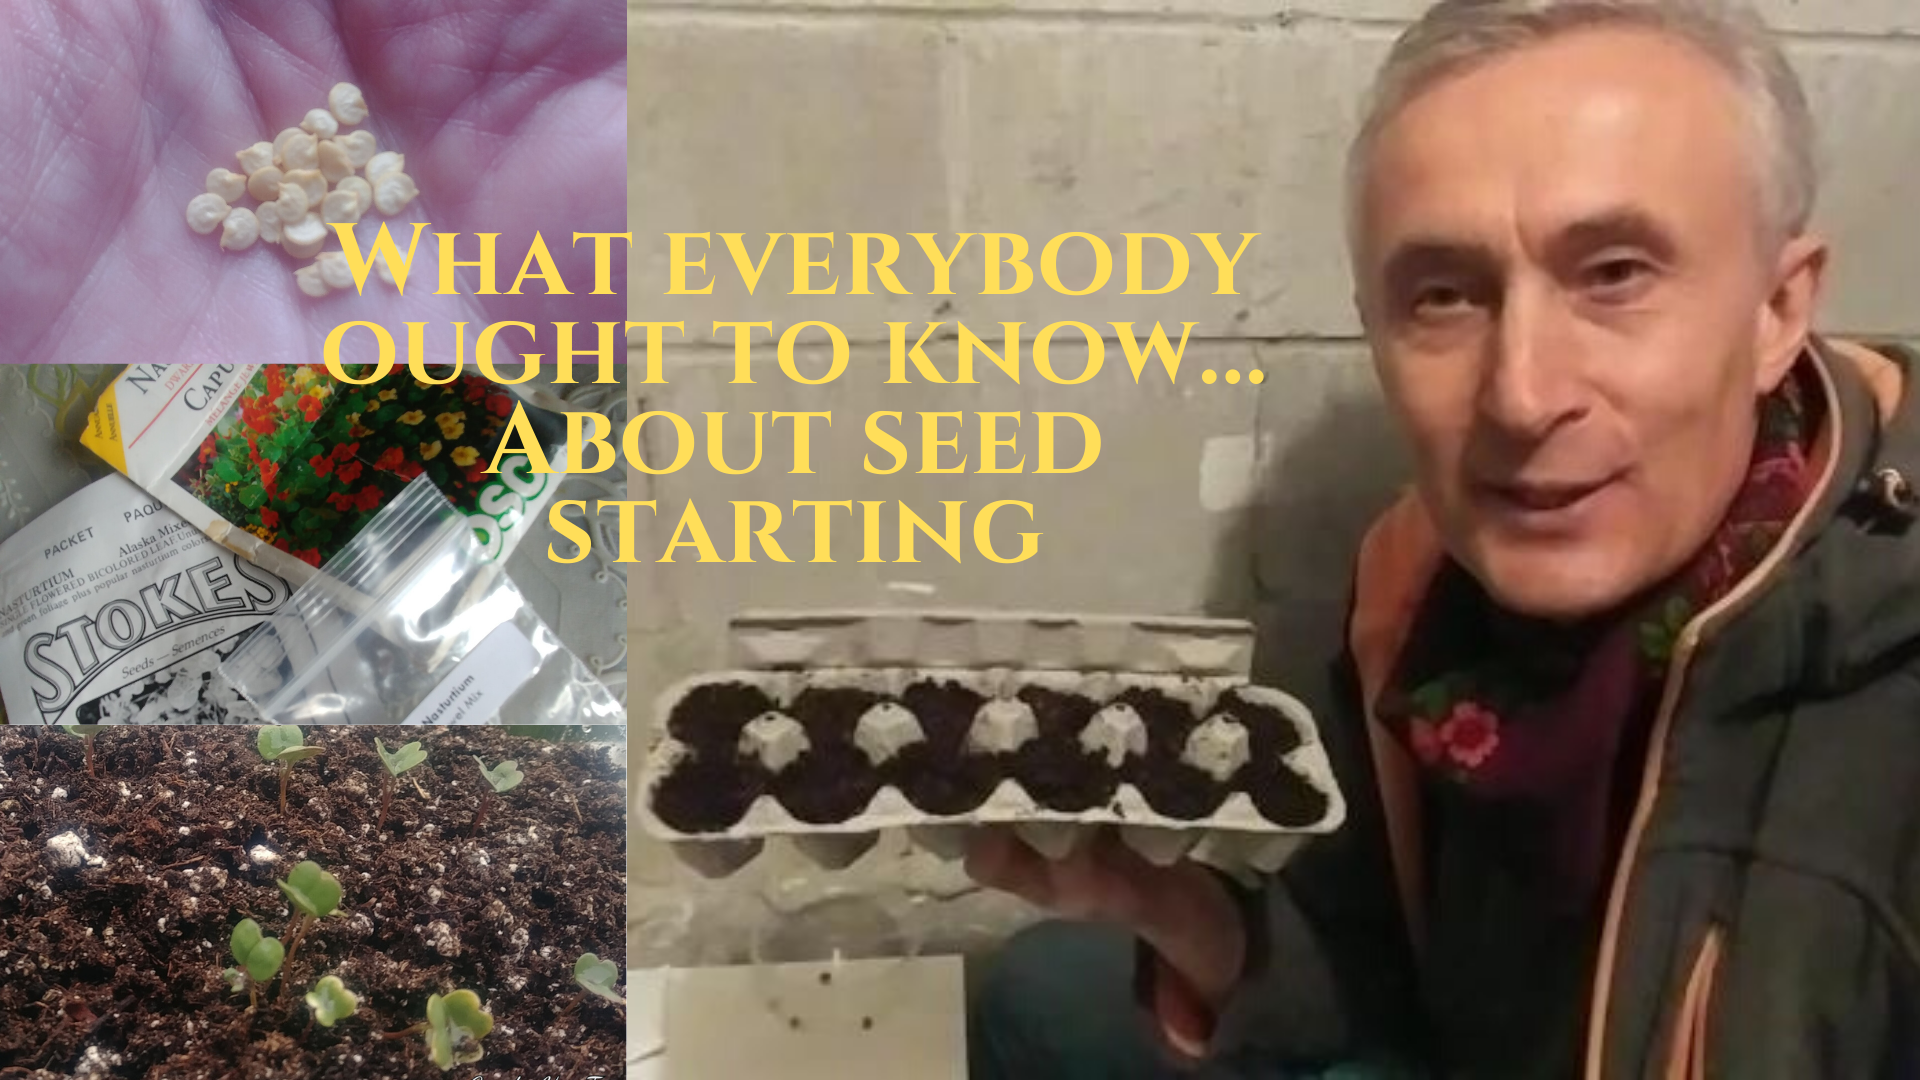
I’ve been collecting and growing vegetables from seeds as a hobby for years. There is a great deal of pleasure watching them sprout and grow and then eating the fabulously fresh vegetables. Of course, you could buy seedlings, but you may not get the variety of produce you want and you may not get the best quality plants. Growing your own vegetables from seeds guarantees the quality and variety you are looking for.
We are in climate zone 5b. You’d never know it with the cold we are experiencing, but in a few weeks’ time, we will be able to start our edible gardens (end of May). It’s time to start the seeds of the following crops indoors:
- Squash
- Pumpkin
- Cantaloupes
- Cucumbers
- Watermelons
- Kale and Swiss Chards – for late summer harvesting
There are a number of reasons why you should start your seeds indoors:
- By planting seeds indoors, we trick the weather because some crops such as celery, eggplant, parsley, cayenne peppers, and green peppers have quite long germination periods.
- You will help your seedlings to survive better because germination rates are higher in controlled indoor conditions where they don’t have to battle the weather, birds and bugs.
- You will have the advantage of starting your crops earlier and getting them established in the garden before the onset of summer heat and drought.
- It will give you a head start on crops such as tomatoes and peppers so you can harvest them earlier before the autumn comes.
- It may be the only way to grow edibles whose times to maturity exceeds your growing season.
- As a bonus, you can grow interesting species and varieties of herbs and vegetables that you find only in catalogues, not at garden centres.
Overall, starting seeds indoors is fun, and it gets you gardening months before the last frost!
So how do you actually start the seeds?
- Use seed starter soil mix, not potting soil.
- Select the most appropriate container (egg cartons, toilet paper rolls), not large plastic pots.
- Pre-germinate your seeds.
- Only put a single sprouted seed if a larger size seed, or a small number of tiny seeds in your prepared “pot.”
- Keep them under the light and the soil moist but not overly wet.
- Watch them grow!
For complete details see the video I’ve created on this topic:
If this post has helped you in some way or if you have any further questions I’d love to hear from you. I’d be happy to read your comment below.

